

Sump pumps are important plumbing components that play a crucial role throughout the year. However, they become particularly vital during the fall and winter seasons, especially in regions with cold temperatures and snowfall. This is especially true for Ohio residents who need to maintain their sump pumps. It’s important to make sure your sump pump can keep up with the continuous rainfall and snowmelt. At Westerville Plumbing & Drain, we are committed to helping you ensure optimal sump pump performance during the colder months. So, without further delay, here’s your fall checklist to ensure your sump pump succeeds this season.
Your Fall Sump Pump Checklist:
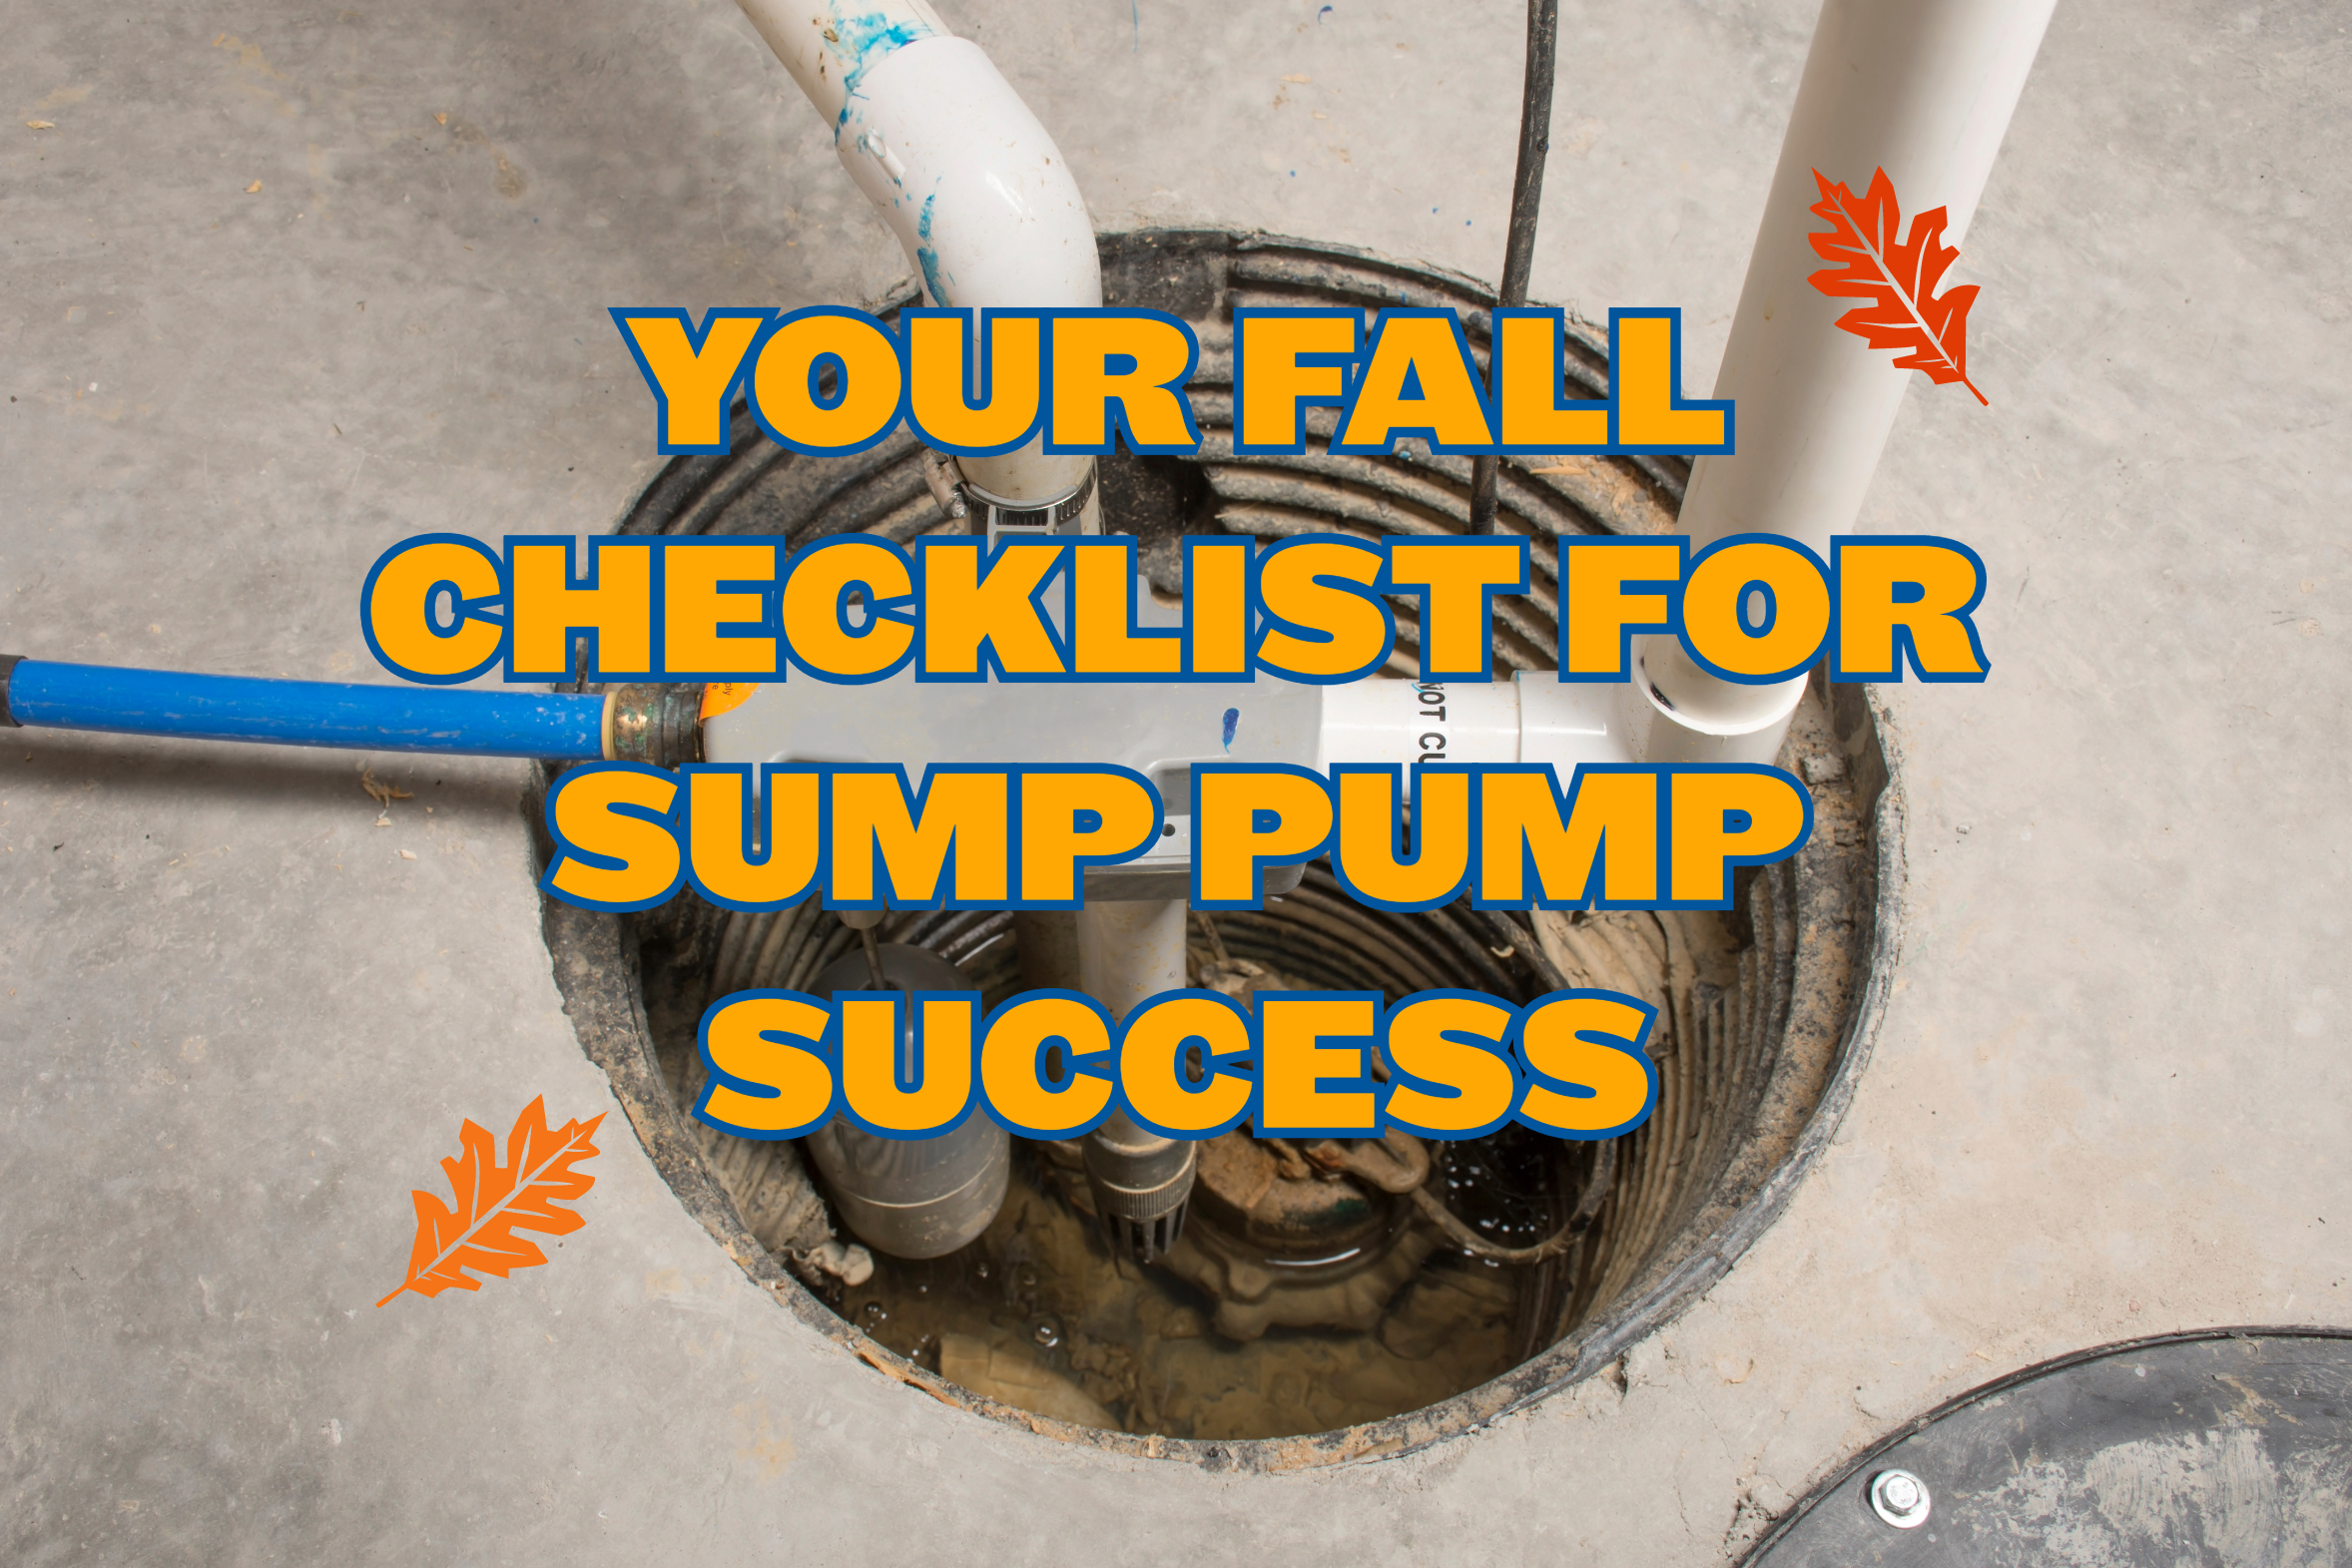
Step 1: To start, remove the lid from the sump pump pit. Lift it cautiously to expose the interior of the pump. If you notice any debris, particles, or rocks, gently remove them. These objects can hinder the pump’s operation and cause overflow issues, which we want to avoid.
Step 2: Next, consider the drain hose. Make sure it’s securely connected and free from any blockages or ice buildup, especially during winter. A blocked or frozen drain hose can cause the sump pump to run continuously and prevent proper water discharge from the pit. It’s a good idea to regularly inspect the drain hose throughout the year.
Step 3: Now, let’s focus on the inlet screen. It plays a crucial role in allowing water to enter the sump pump’s pit. If the inlet screen gets clogged, it can prevent water access and potentially cause flooding and other plumbing issues.
Step 4: Also, don’t forget to examine the float mechanism. Another thing you want to check is that the float mechanism is still functioning properly and in good condition. This component plays a crucial role in activating the pump to remove excess water. So, checking the float mechanism is just as important as the other steps on this list. A faulty float can lead to the pump not responding when needed or running continuously, which can cause damage to the pump’s engine over time.
Step 5: Perform a trial run. You can do this by pouring a bucket of water into the sump pit to test your sump pump. Keep a close eye on its performance to see how it responds and if it effectively removes the excess water. If the pump fails, check the power source connection and ensure the power cord is undamaged and functioning properly.
Step 6: Confirm the placement of the discharge pipe. The discharge pipe is responsible for removing excess water from your home. It’s crucial to make sure that the excess water is being discharged correctly. Improper placement of the discharge point can lead to water seeping back into the pump, causing issues both now and in the future. Excessive usage accelerates wear and tear, potentially shortening the sump pump’s lifespan.
It’s important to keep in mind that the discharge pipe should not be placed too close to neighboring homes, structures, or other buildings. It should also stay within your property boundaries because discharging excess water onto your neighbor’s property is strongly discouraged. So, just make sure you maintain proper drainage within your own property lines.
Step 7: Be prepared for emergencies. Sometimes, unexpected things happen, like severe storms or power outages. While it’s impossible to completely avoid them, having a backup battery or generator can be a lifesaver. By planning ahead and having a contingency plan in place, you can rest easy knowing that your plumbing system is ready to handle any power disruptions or unexpected situations that may arise.
These practices will help you maintain your sump pump system, providing essential protection against potential water damage and other plumbing issues during the cold season.
If you encounter any issues with your sump pump, do not delay; call Westerville Plumbing & Drain today at (614) 540-3437, or schedule an appointment online now by clicking here!